-
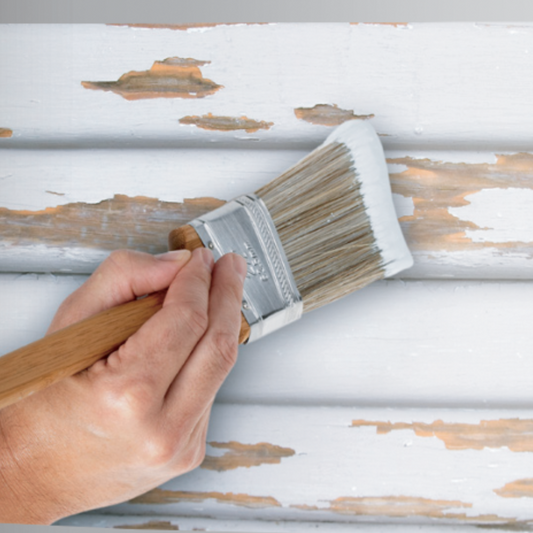
Zinsser Peel Stop Binding Primer Clear
Regular price From £16.79 GBPRegular priceUnit price per -
Benjamin Moore High Build Peel Bonding Primer (Gallon)
Regular price £78.00 GBPRegular priceUnit price per -
Zinsser Permawhite Mould Resistant Interior Matt White
Regular price From £23.99 GBPRegular priceUnit price per -
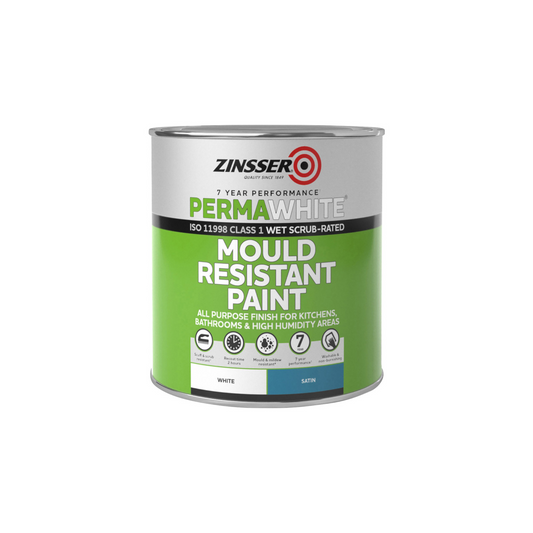
Zinsser Permawhite Mould Resistant Interior Satin White
Regular price From £23.99 GBPRegular priceUnit price per -
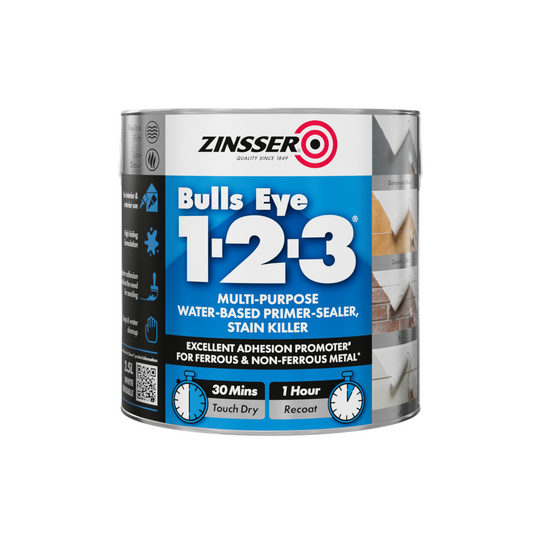
Zinsser Bullseye 123 Water Based Primer Sealer White
Regular price From £14.39 GBPRegular priceUnit price per -
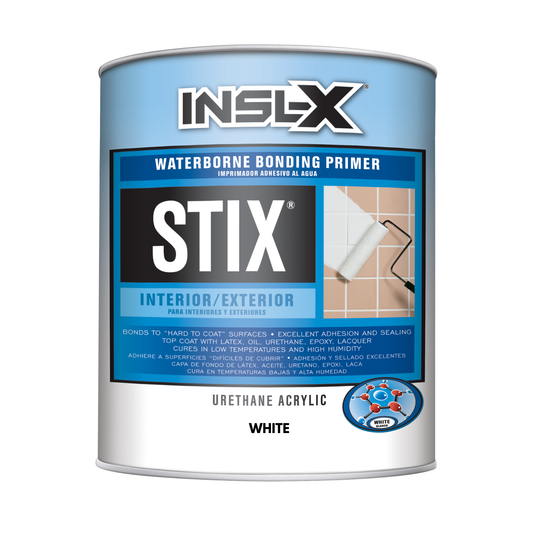
Benjamin Moore Stix Acrylic Bonding Primer White
Regular price From £32.50 GBPRegular priceUnit price per -

 On Sale
Benjamin Moore Aura Bath & Spa
Regular price From £32.99 GBPRegular priceUnit price per£37.00 GBPSale price From £32.99 GBPOn Sale -
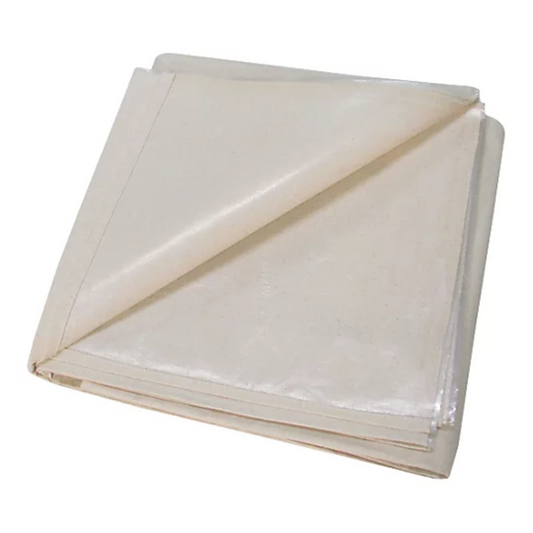
Hamilton Prestige Polythene Backed Dust Sheet 9 x 12 Feet
Regular price £13.79 GBPRegular priceUnit price per -
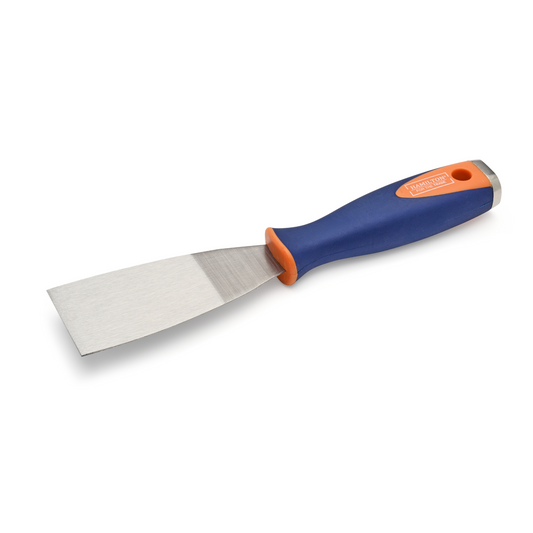
Hamilton For The Trade Stripping Knife 2"
Regular price £5.59 GBPRegular priceUnit price per -
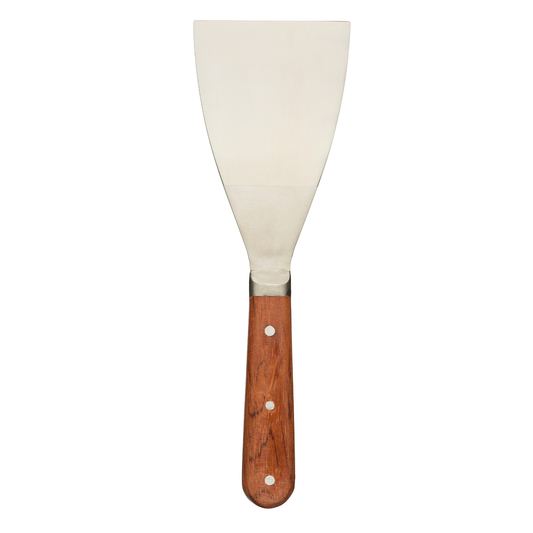
Coral Elite Stainless Steel Stripping Knife 3" (75mm)
Regular price £8.79 GBPRegular priceUnit price per -
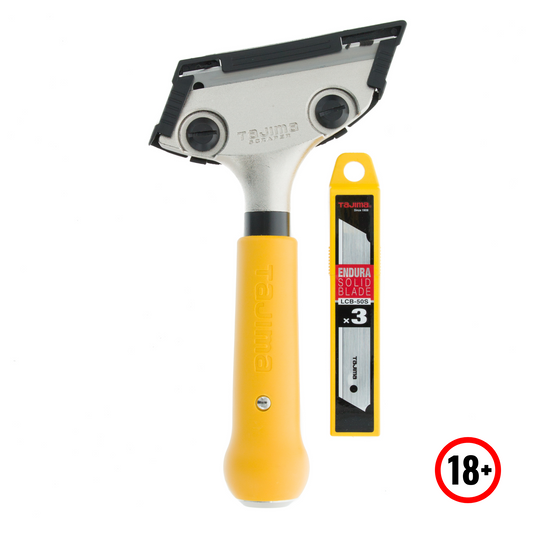
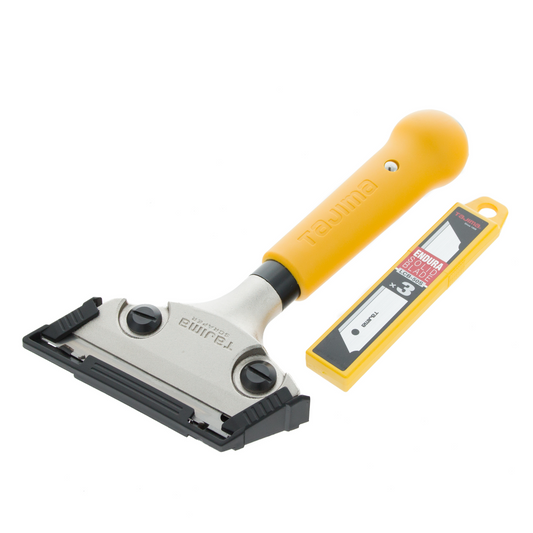
Tajima SCRL200 Scrape-Rite Heavy Duty Scraper - 200mm Handle
Regular price £23.99 GBPRegular priceUnit price per -
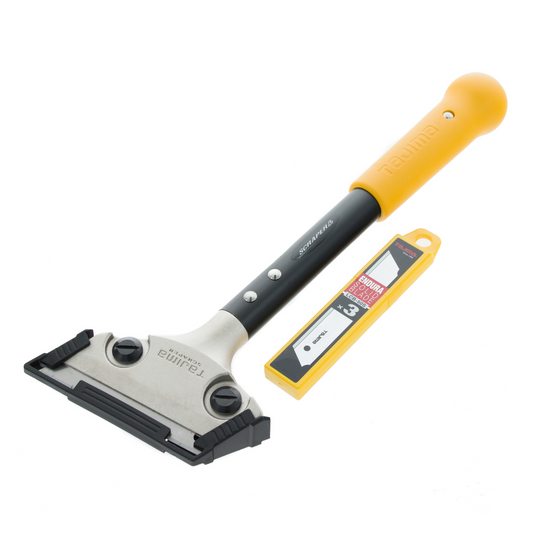
Tajima SCRL300 Scrape-Rite Heavy Duty Scraper - 300mm Handle
Regular price £25.99 GBPRegular priceUnit price per -
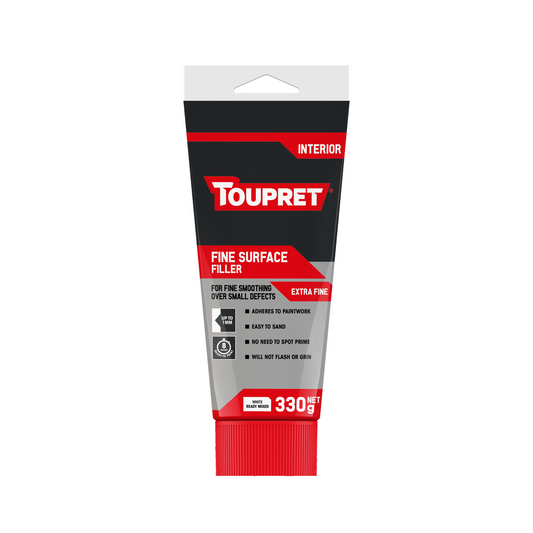
Toupret Fine Surface Filler White (Interior)
Regular price From £5.27 GBPRegular priceUnit price per -
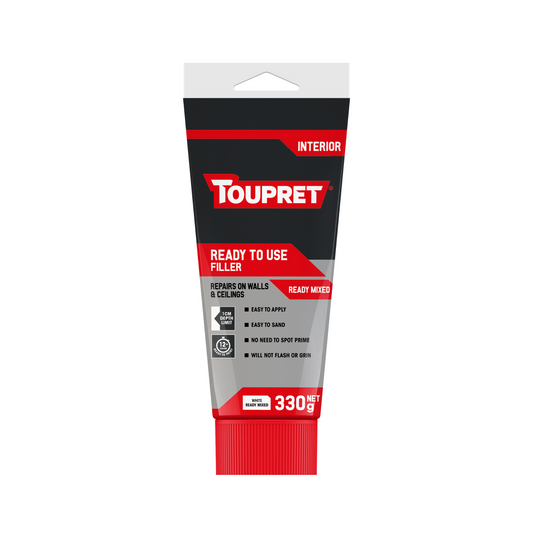
Toupret Ready Mixed Plaster Filler White (Interior)
Regular price From £5.35 GBPRegular priceUnit price per -
Toupret Interior Plaster Filler White
Regular price From £7.99 GBPRegular priceUnit price per -
Filltite Stainless Steel Filling Knife 140mm (5.5")
Regular price £8.99 GBPRegular priceUnit price per -
Filltite Stainless Steel Filling Knife 240mm (9.5")
Regular price £11.99 GBPRegular priceUnit price per -
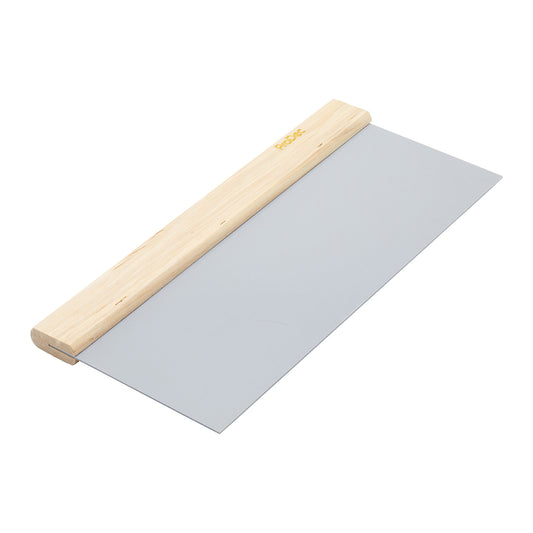
Prodec Flexible Caulking Filling Blade 8"
Regular price £7.19 GBPRegular priceUnit price per -
Prodec Flexible Caulking Filling Blade 10"
Regular price £9.59 GBPRegular priceUnit price per -
Prodec Flexible Caulking Filling Blade 12"
Regular price £10.39 GBPRegular priceUnit price per -
Prep Lightweight Hand Sander
Regular price £7.99 GBPRegular priceUnit price per -
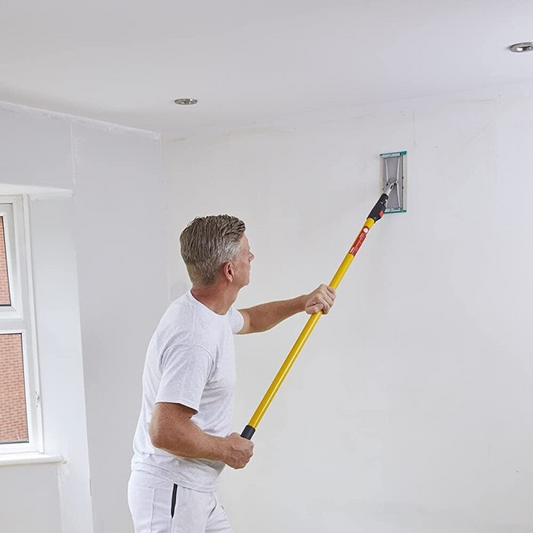
Prep Aluminium Pole Wall and Ceiling Sander Head
Regular price £13.39 GBPRegular priceUnit price per -
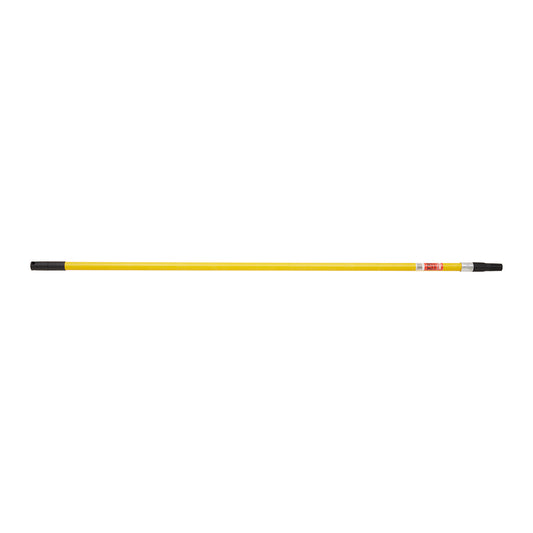
Prodec Fibreglass Roller Pole 4 Foot
Regular price £14.99 GBPRegular priceUnit price per -
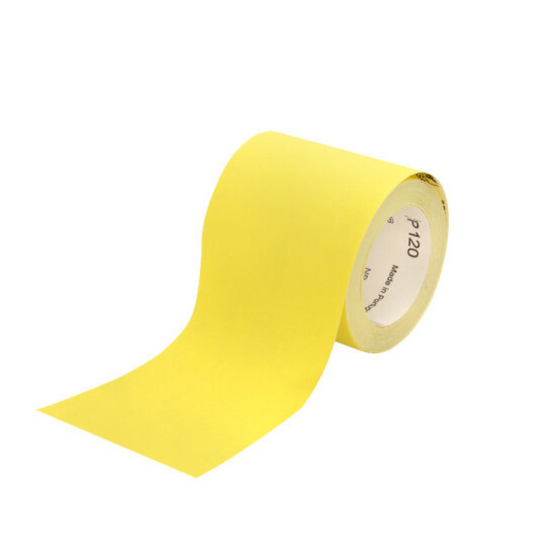
Indasa Rhynolite Yellow Line Sandpaper 5 Metre Roll (P40 - P120)
Regular price £7.99 GBPRegular priceUnit price per -
Indasa Cover Roll Masking Film
Regular price From £3.59 GBPRegular priceUnit price per -
Indasa 3 Day General Purpose Masking Tape (MTG)
Regular price From £1.79 GBPRegular priceUnit price per -
Blackrock Reusable Twin Filter Respiratior Dust Mask (A1/P2 Filters)
Regular price £36.99 GBPRegular priceUnit price per